I’m a geek (see the site subtitle). I also love antiques, refurbishing used items, country farmhouse style, and doing fun furnishing projects. This project combined those together in I think is a pretty awesome way.
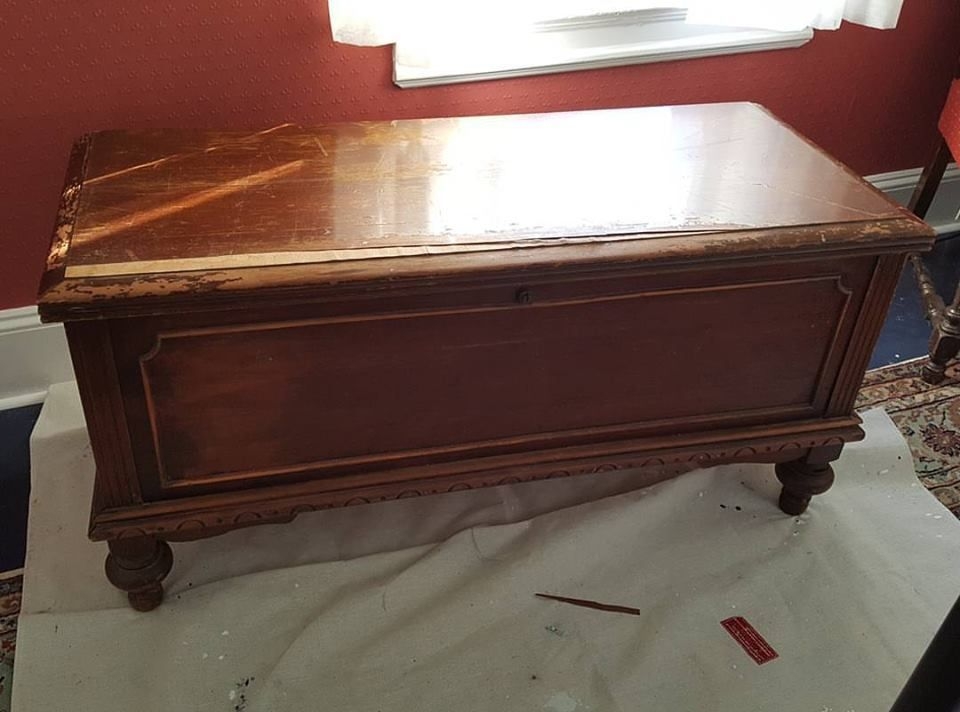 |
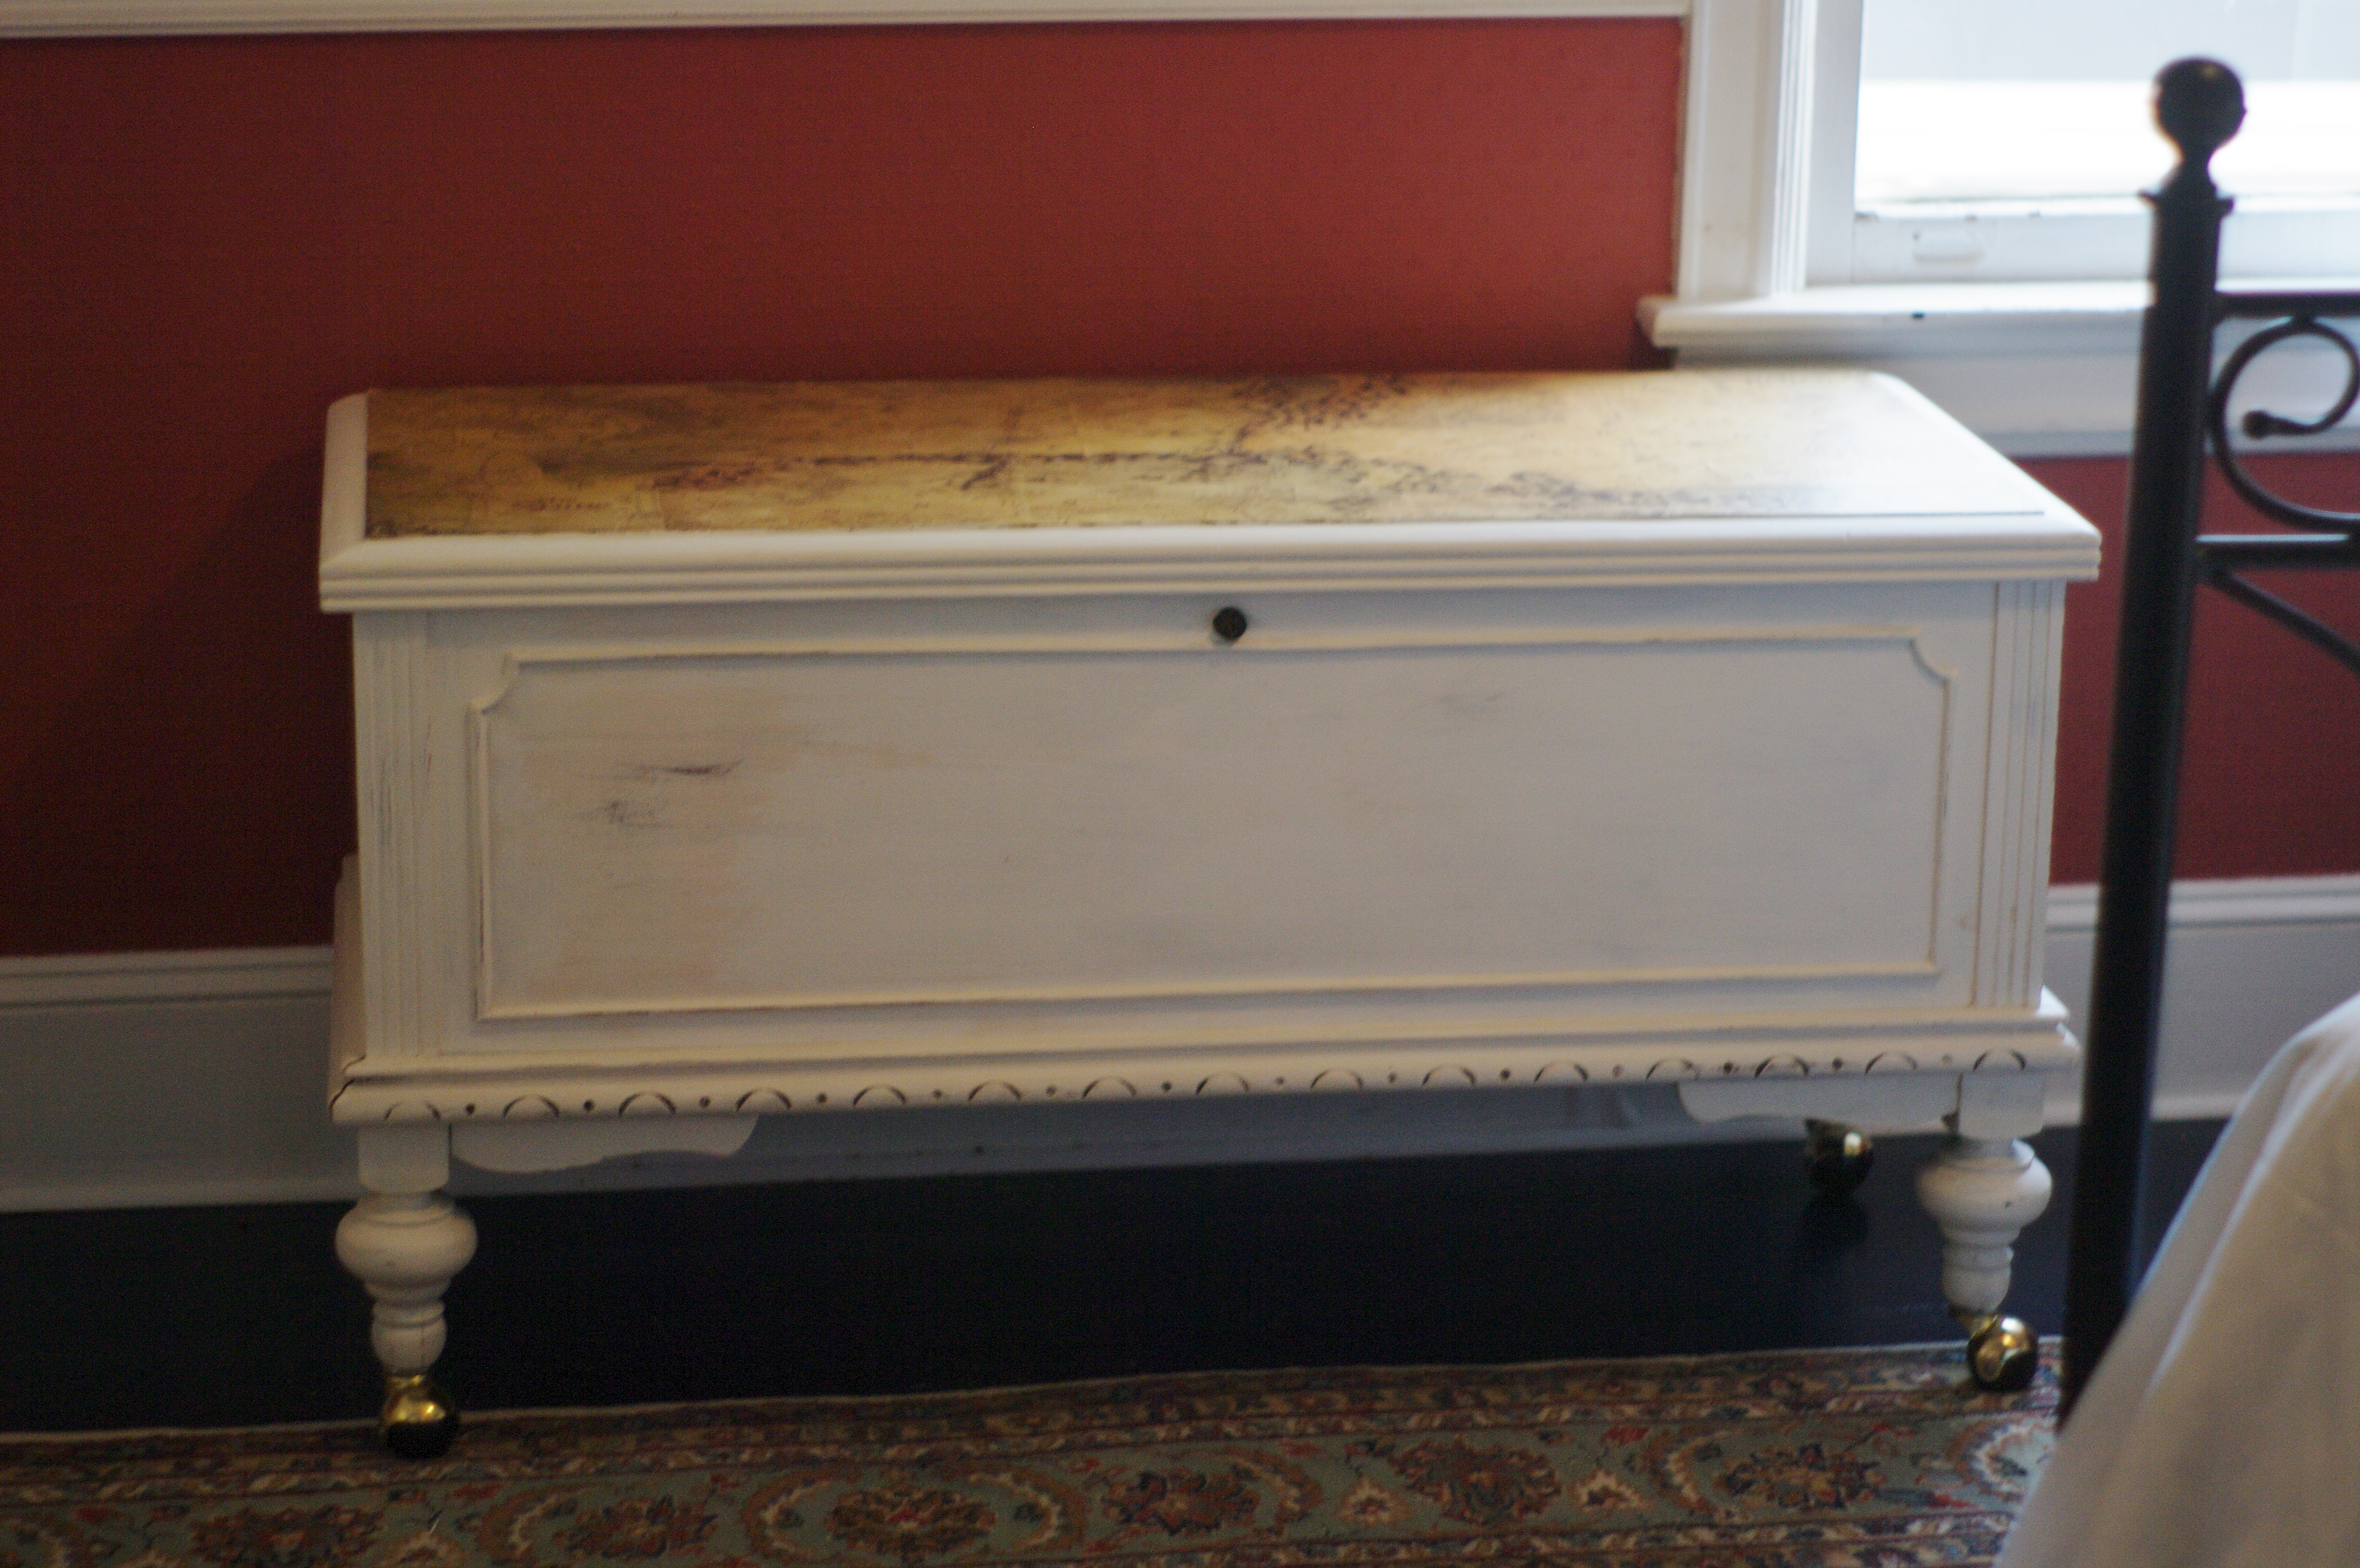
Here’s the chest before. My mother gave me this chest when she moved away from NJ, so I’ve had it for nearly 20 years. I got it in this condition with the broken top. My mom had gotten around the issue with missing the veneer on the top by stapling a padded top to the chest. Definitely not my style, and in our old house we didn’t have room to put the chest anywhere so it sat in the basement for 15 years. |
 |
One of the things I needed to accomplish was to raise the chest an inch or so in order to store items underneath it. I chose to put some nice caster wheels on it, effectively raising it and making it easier to move around if needed (like to get the items that fall between it and the foot of the bed). I removed the furniture tacks from the bottom, drilled a hole for the new metal wheel post, and put a bit of construction adhesive in the bottom of the hole for the wheel post to adhere to. |
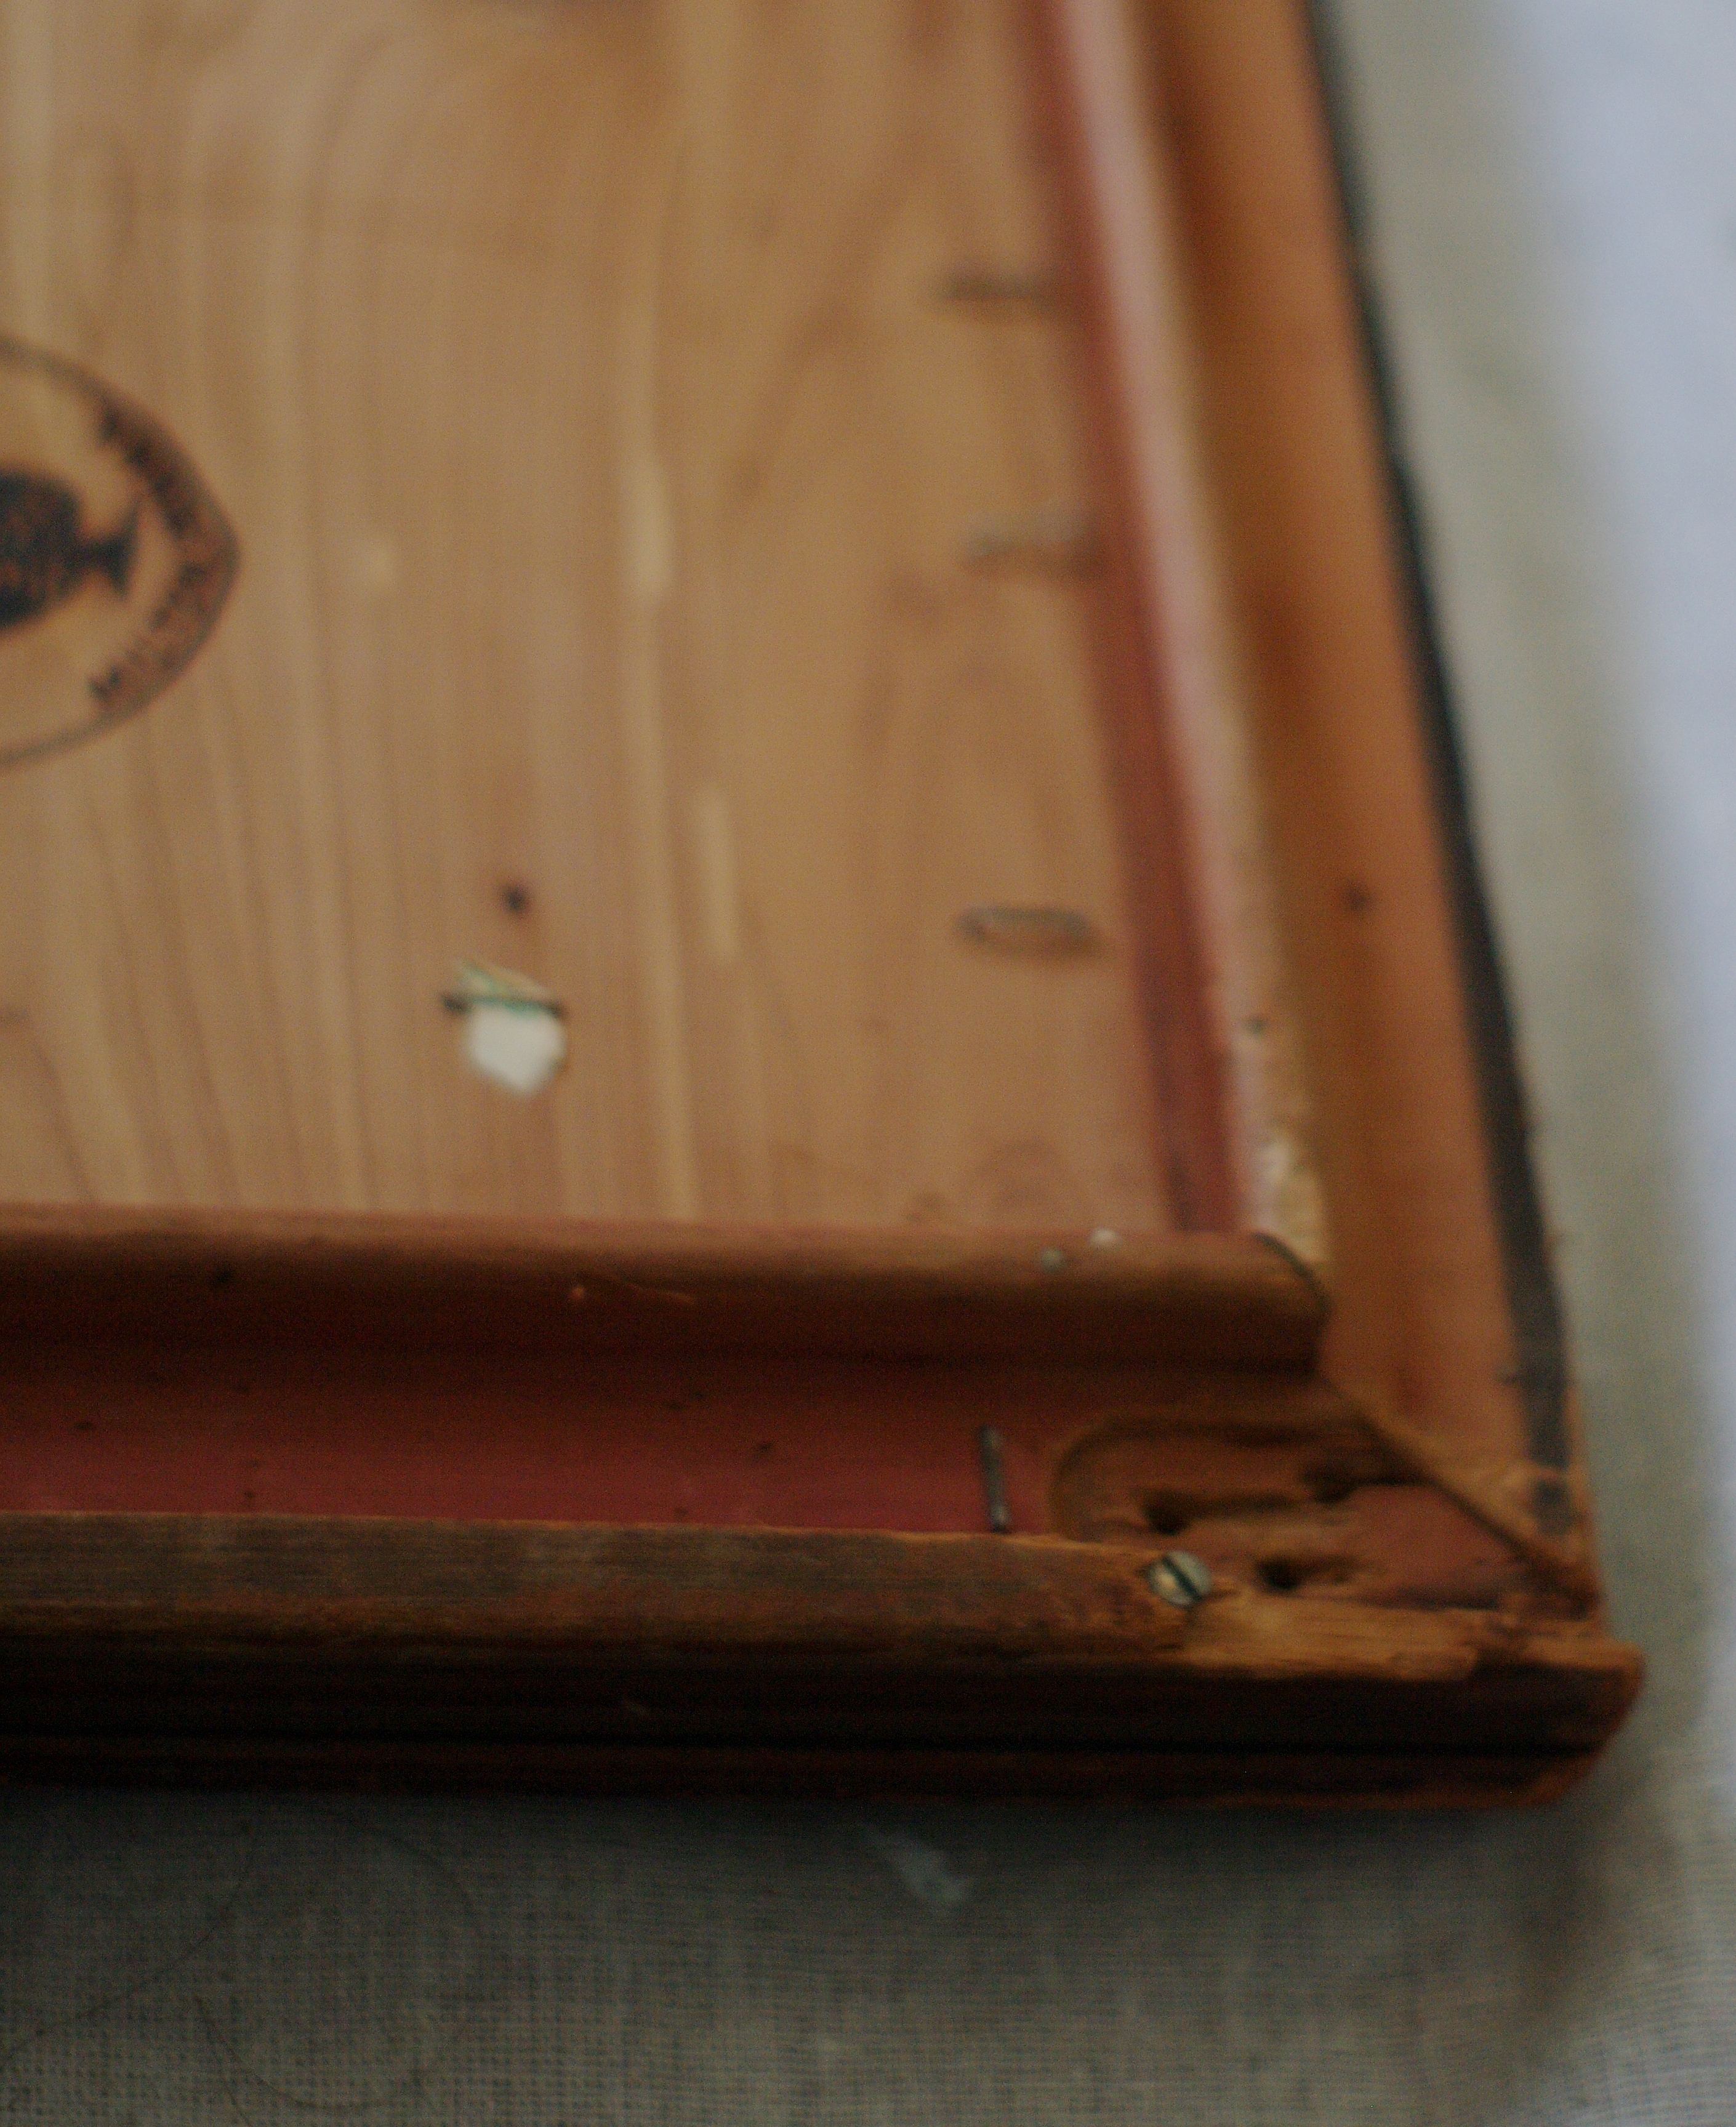 |
There were a couple repairs that needed to be made to get the chest functional again. First, all the staples had to be removed and the stripped-out screw holes for the hinge had to be filled. |
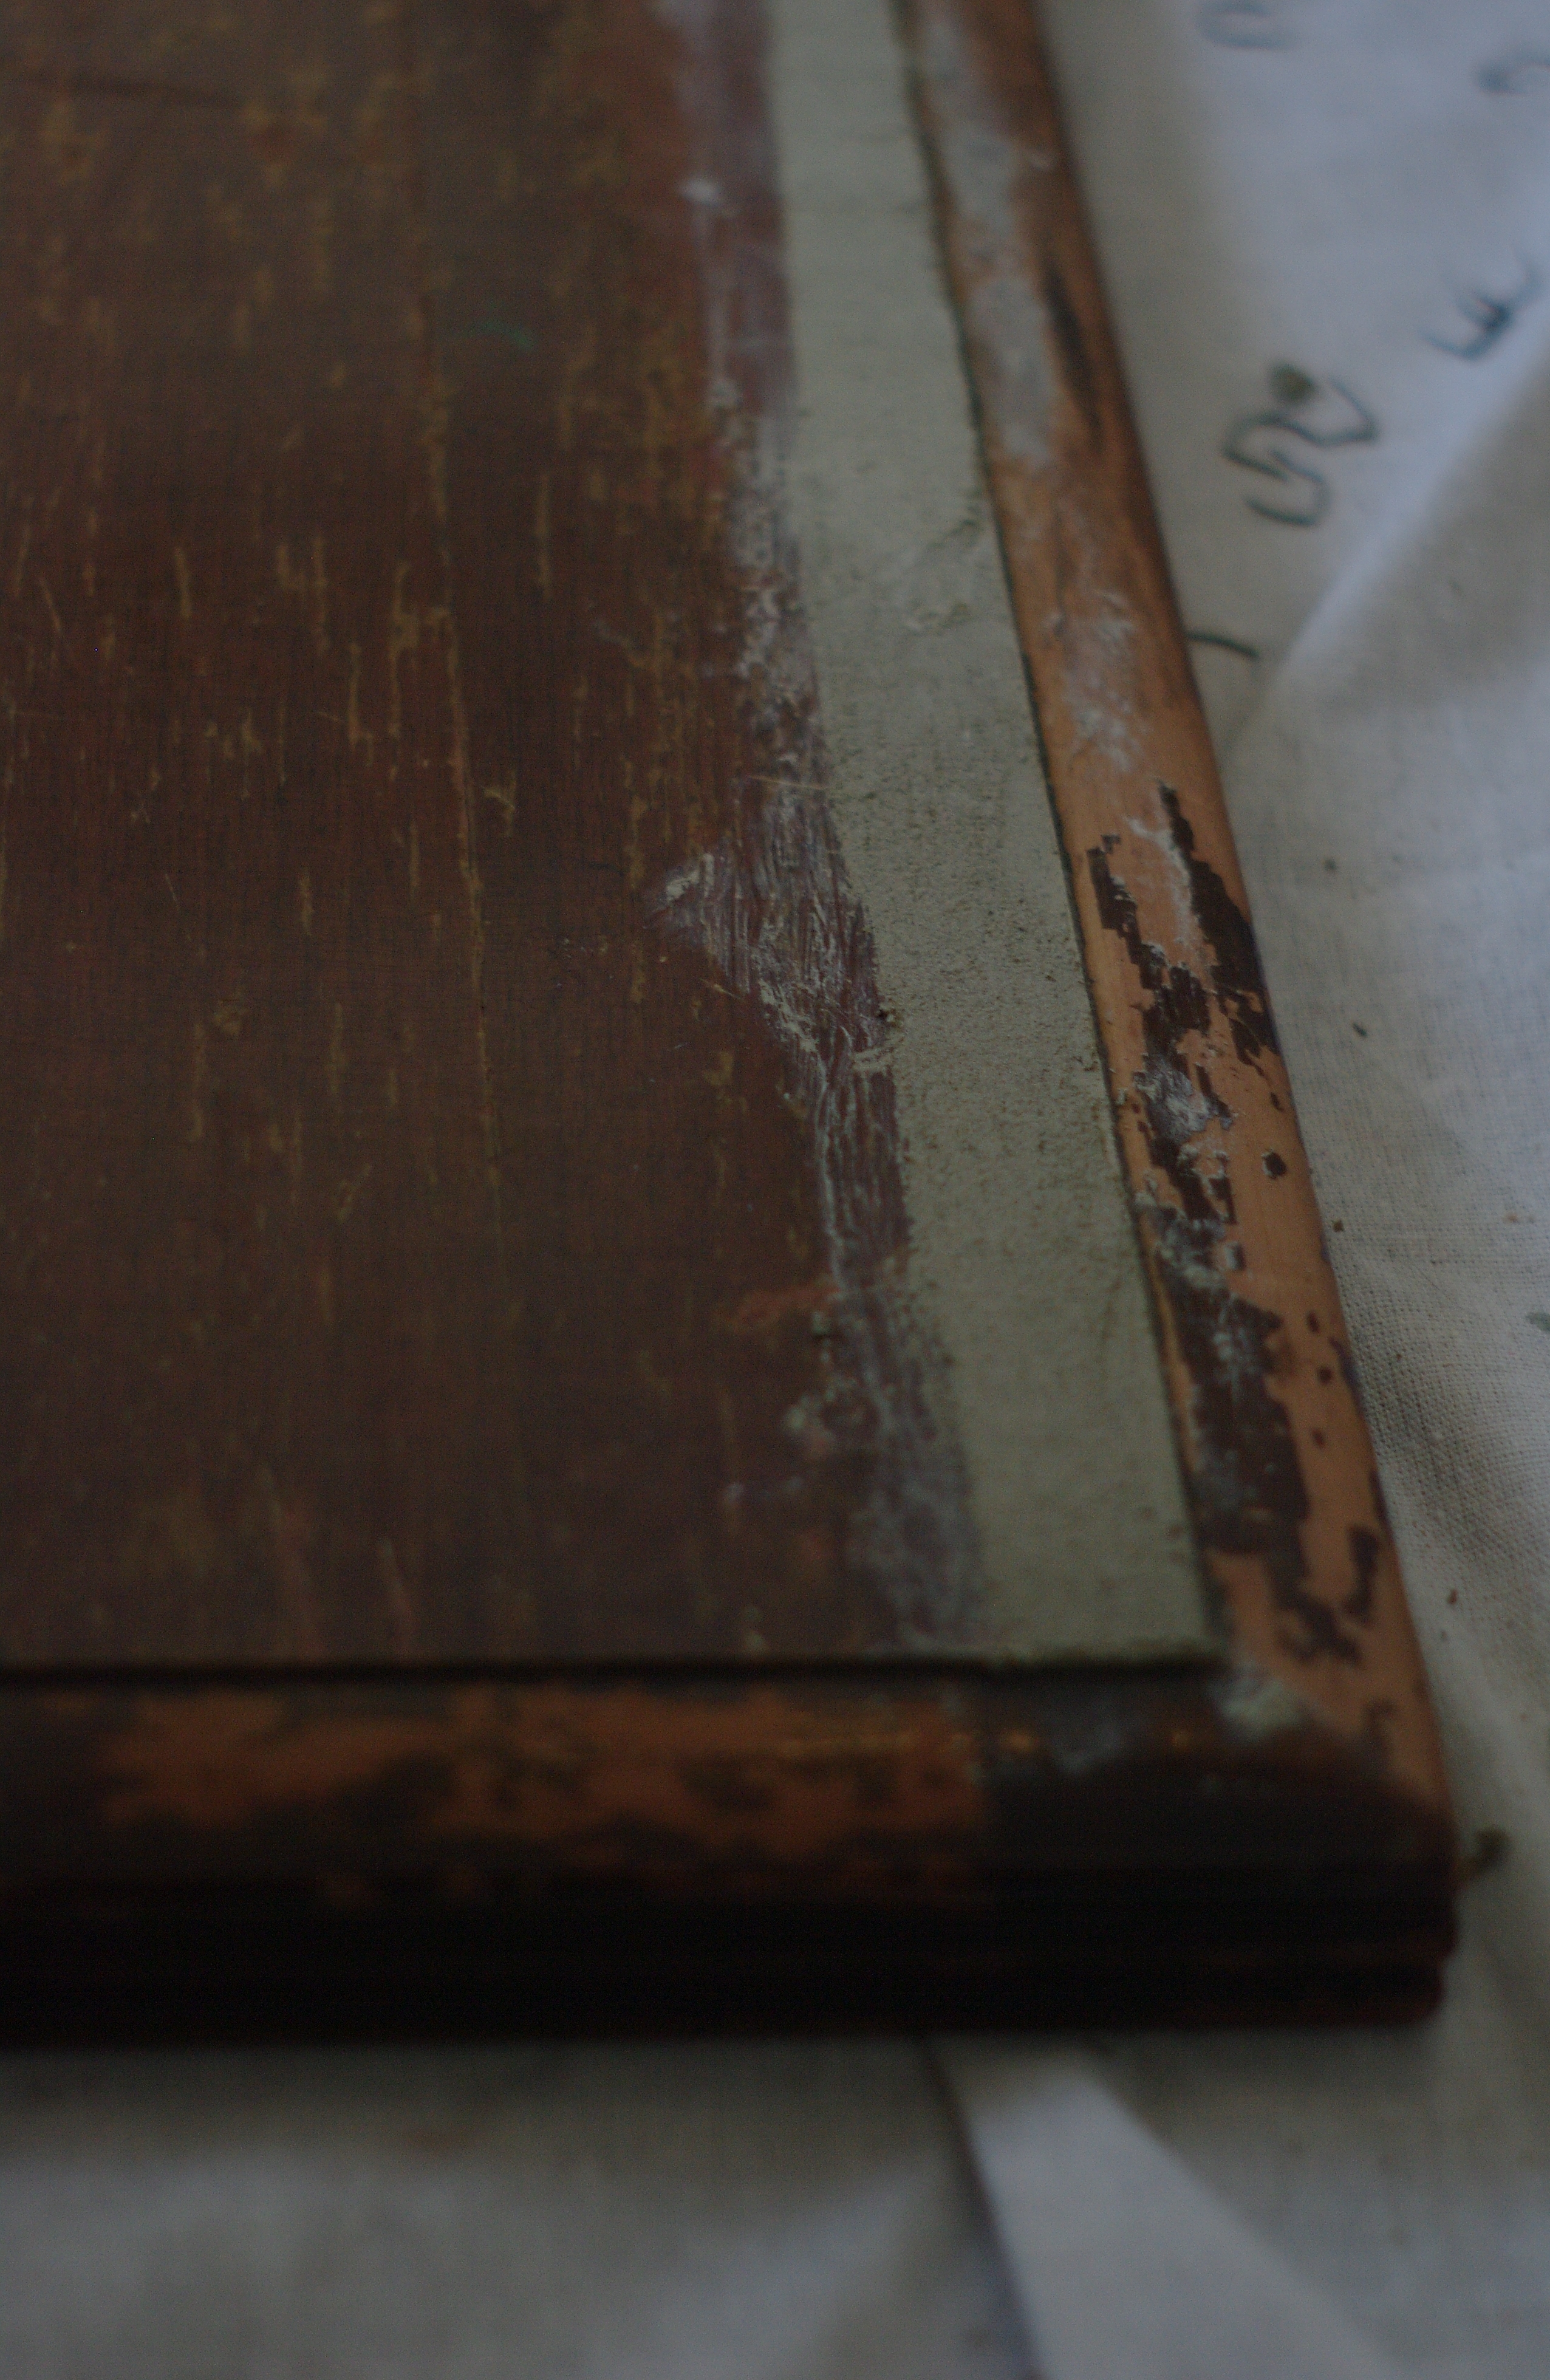 |
Then, I had to glue the edge of the remaining veneer and level it out somehow. I wasn’t able to find veneer locally, so I chose to fill in with some wood filler to level the top. I’ve never had much luck in getting wood filler to sand precisely enough to completely match the veneer, so I figured that I would need to cover it with something. I’d seen a post of someone using decoupaged maps on the top of a piece of furniture, and thought that might fit the bill nicely.
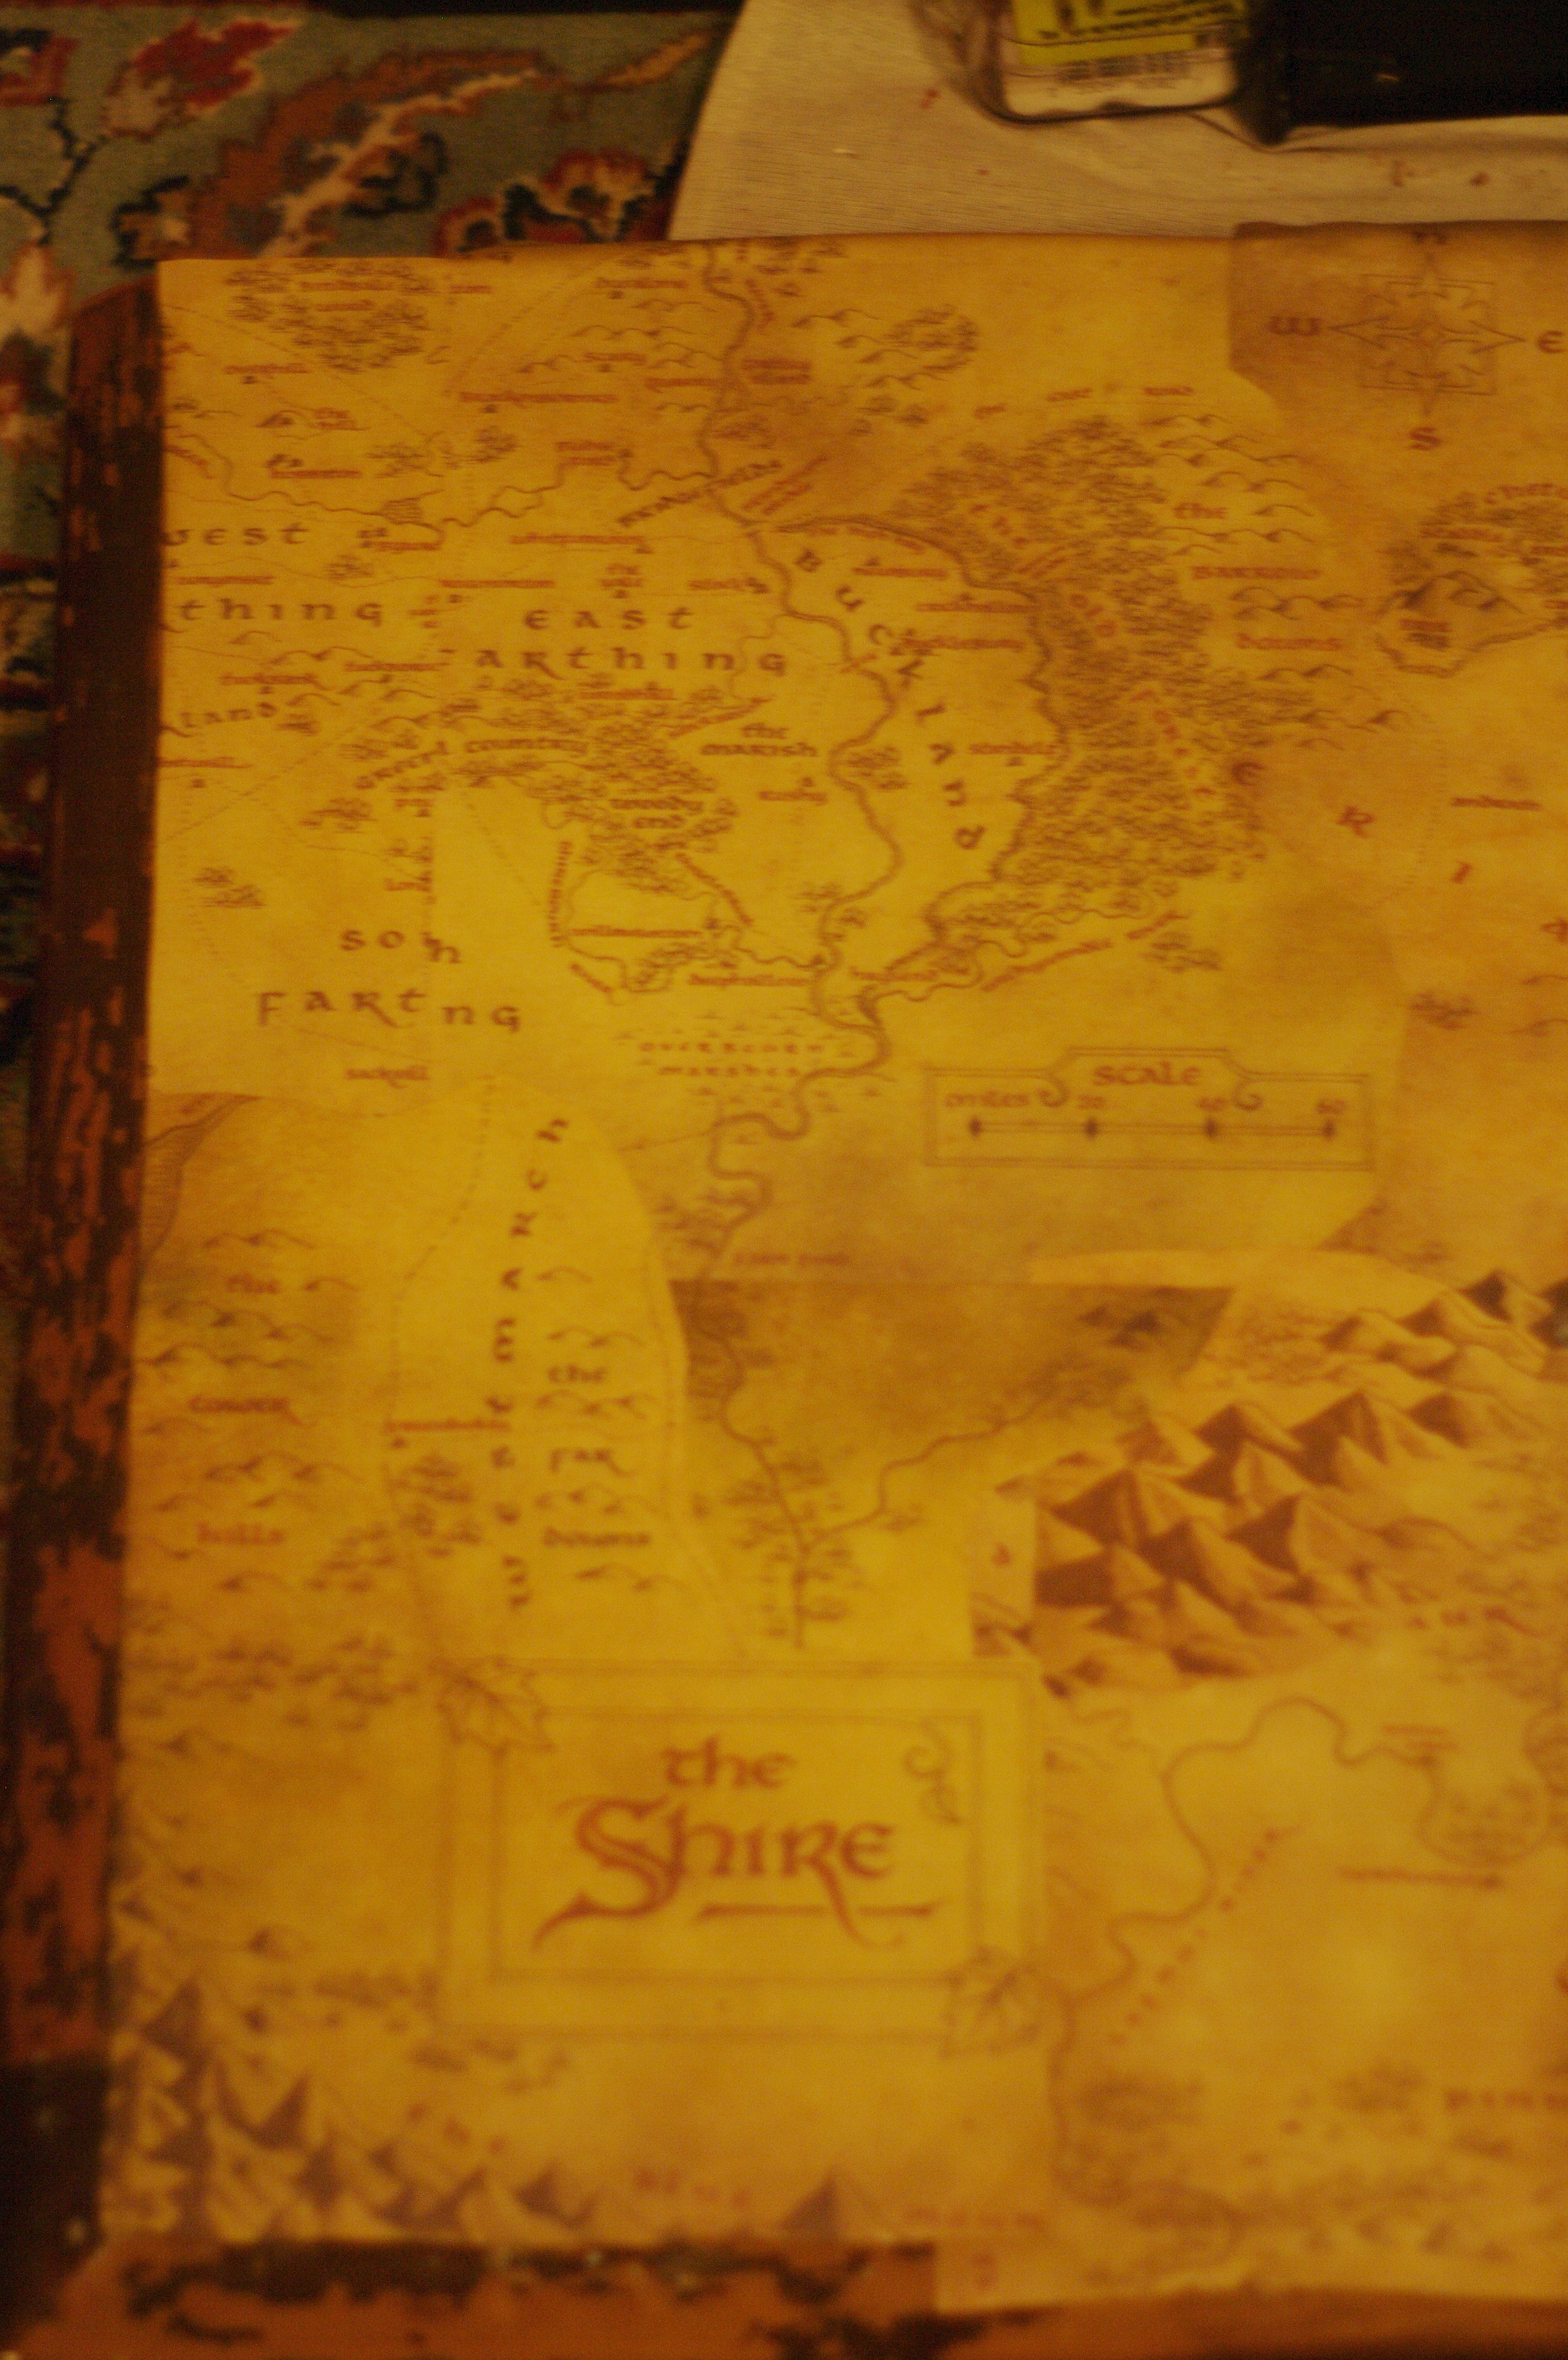
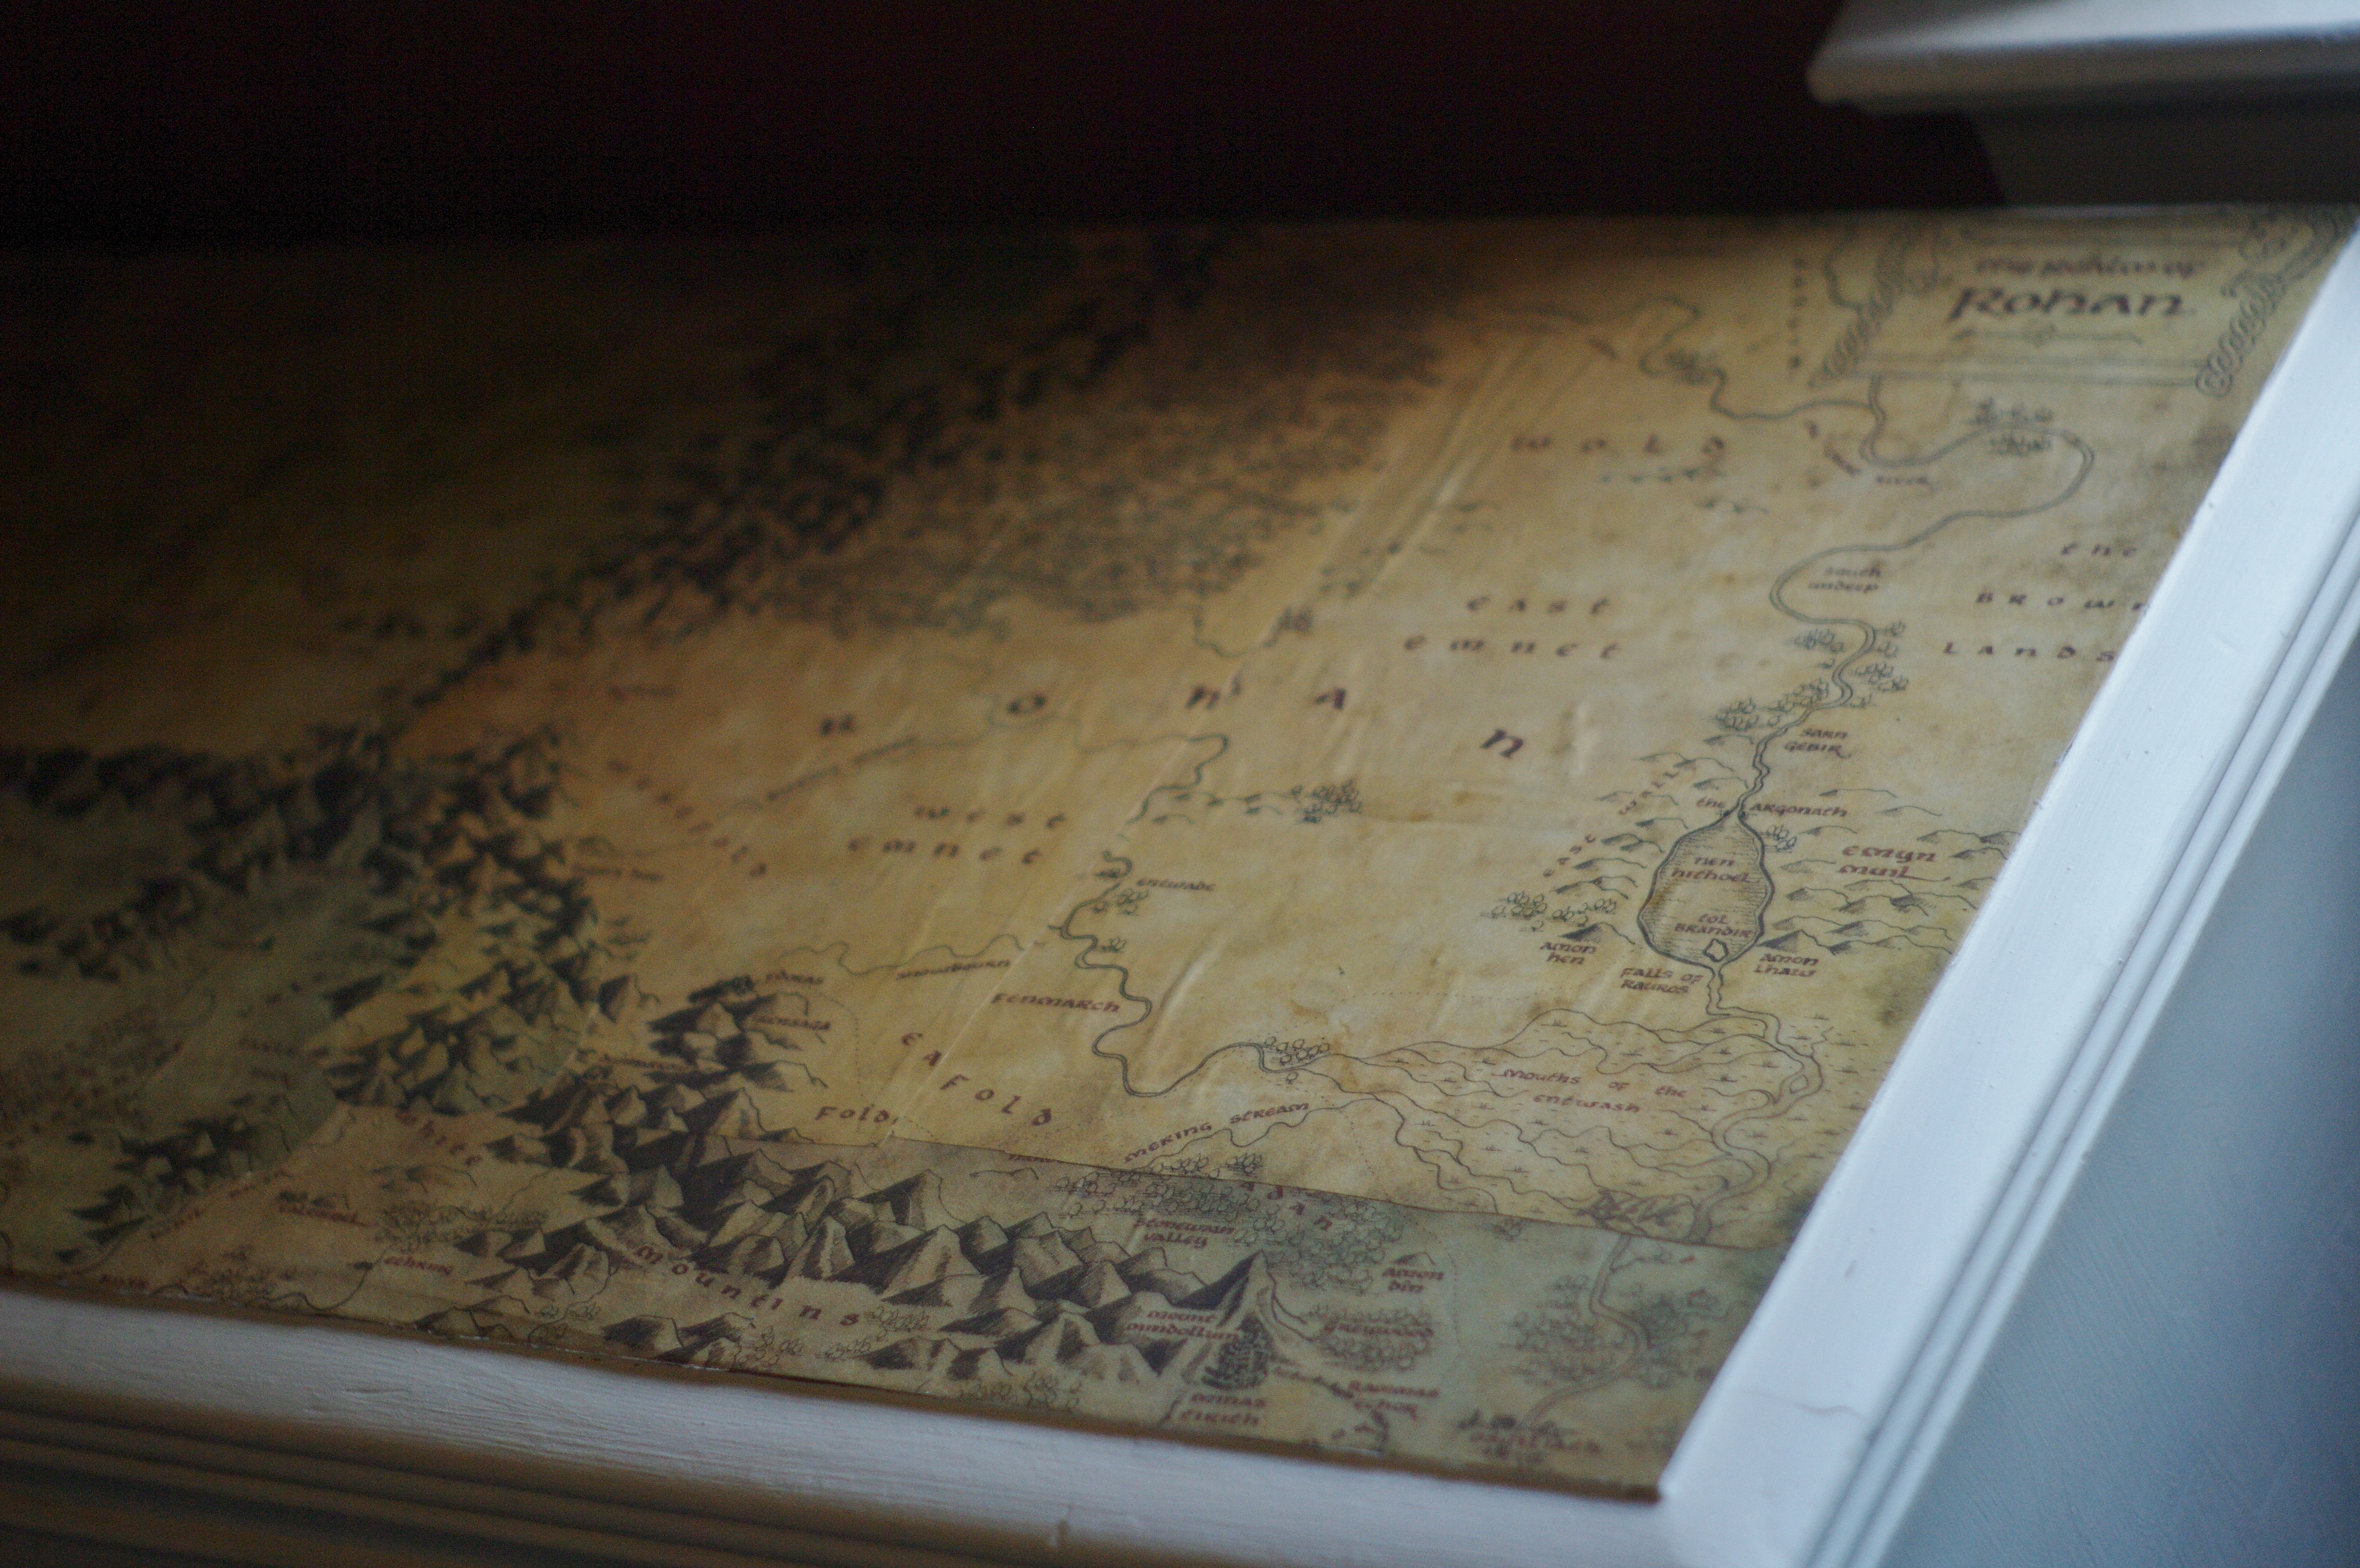
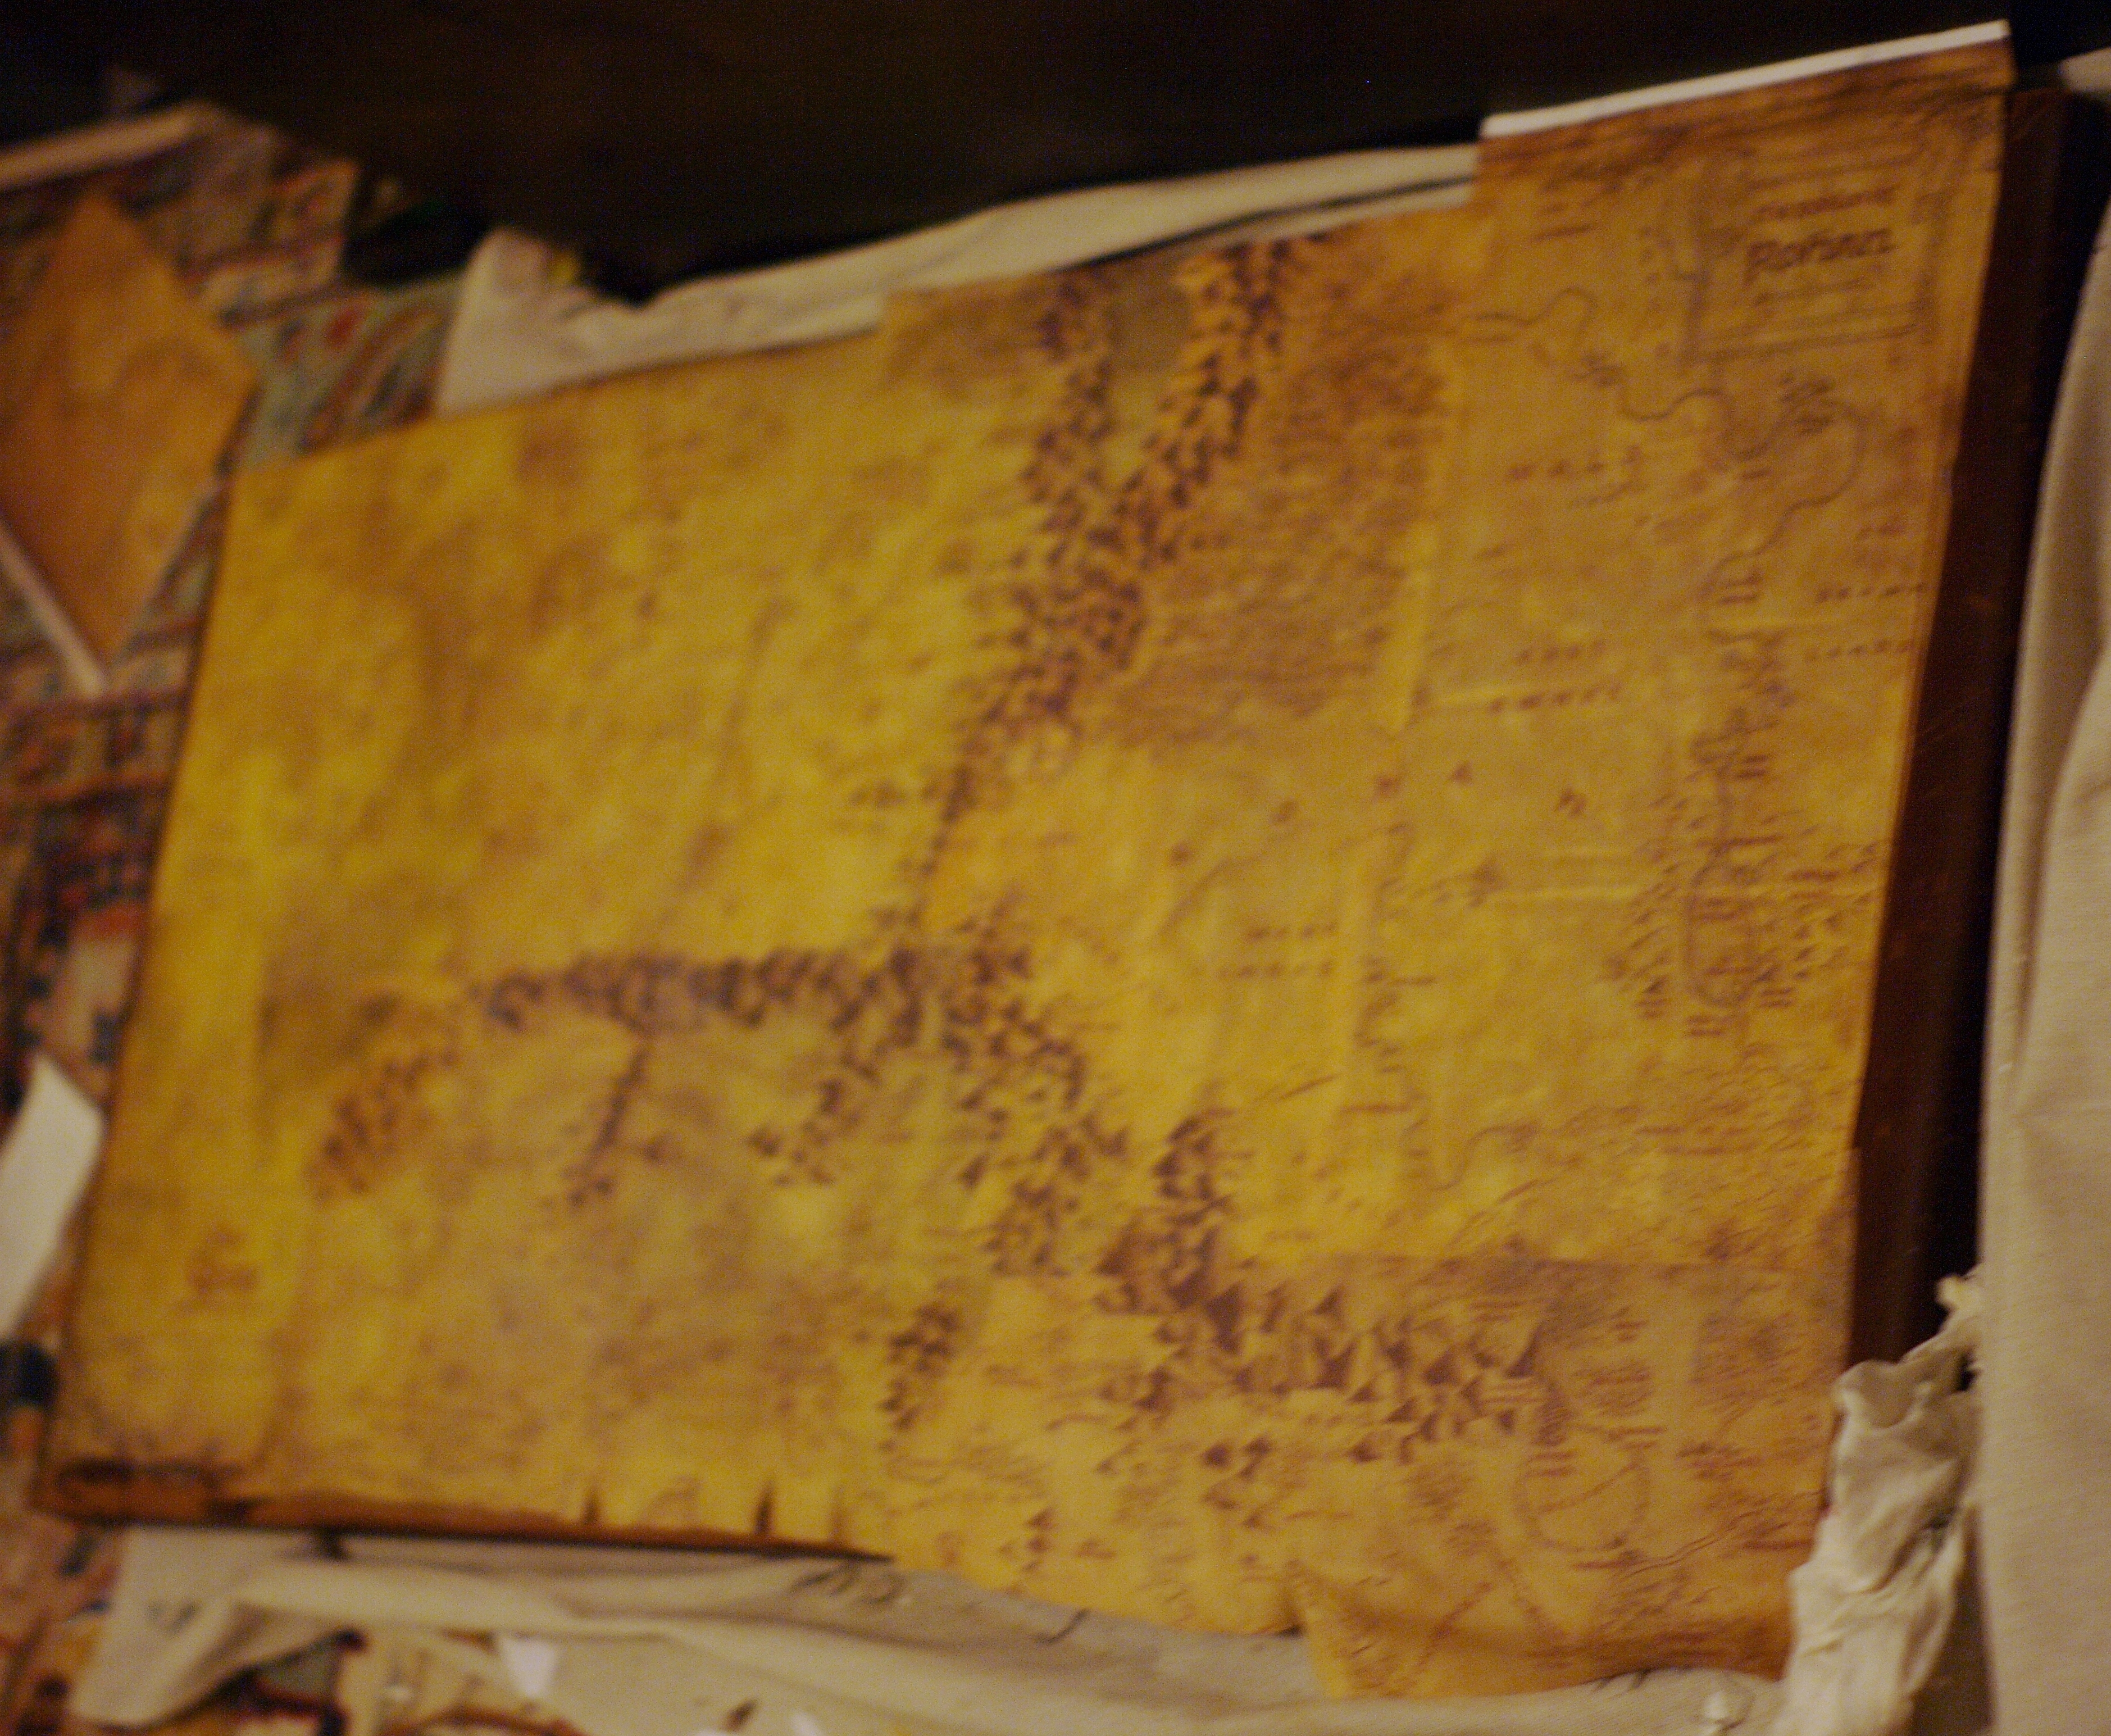
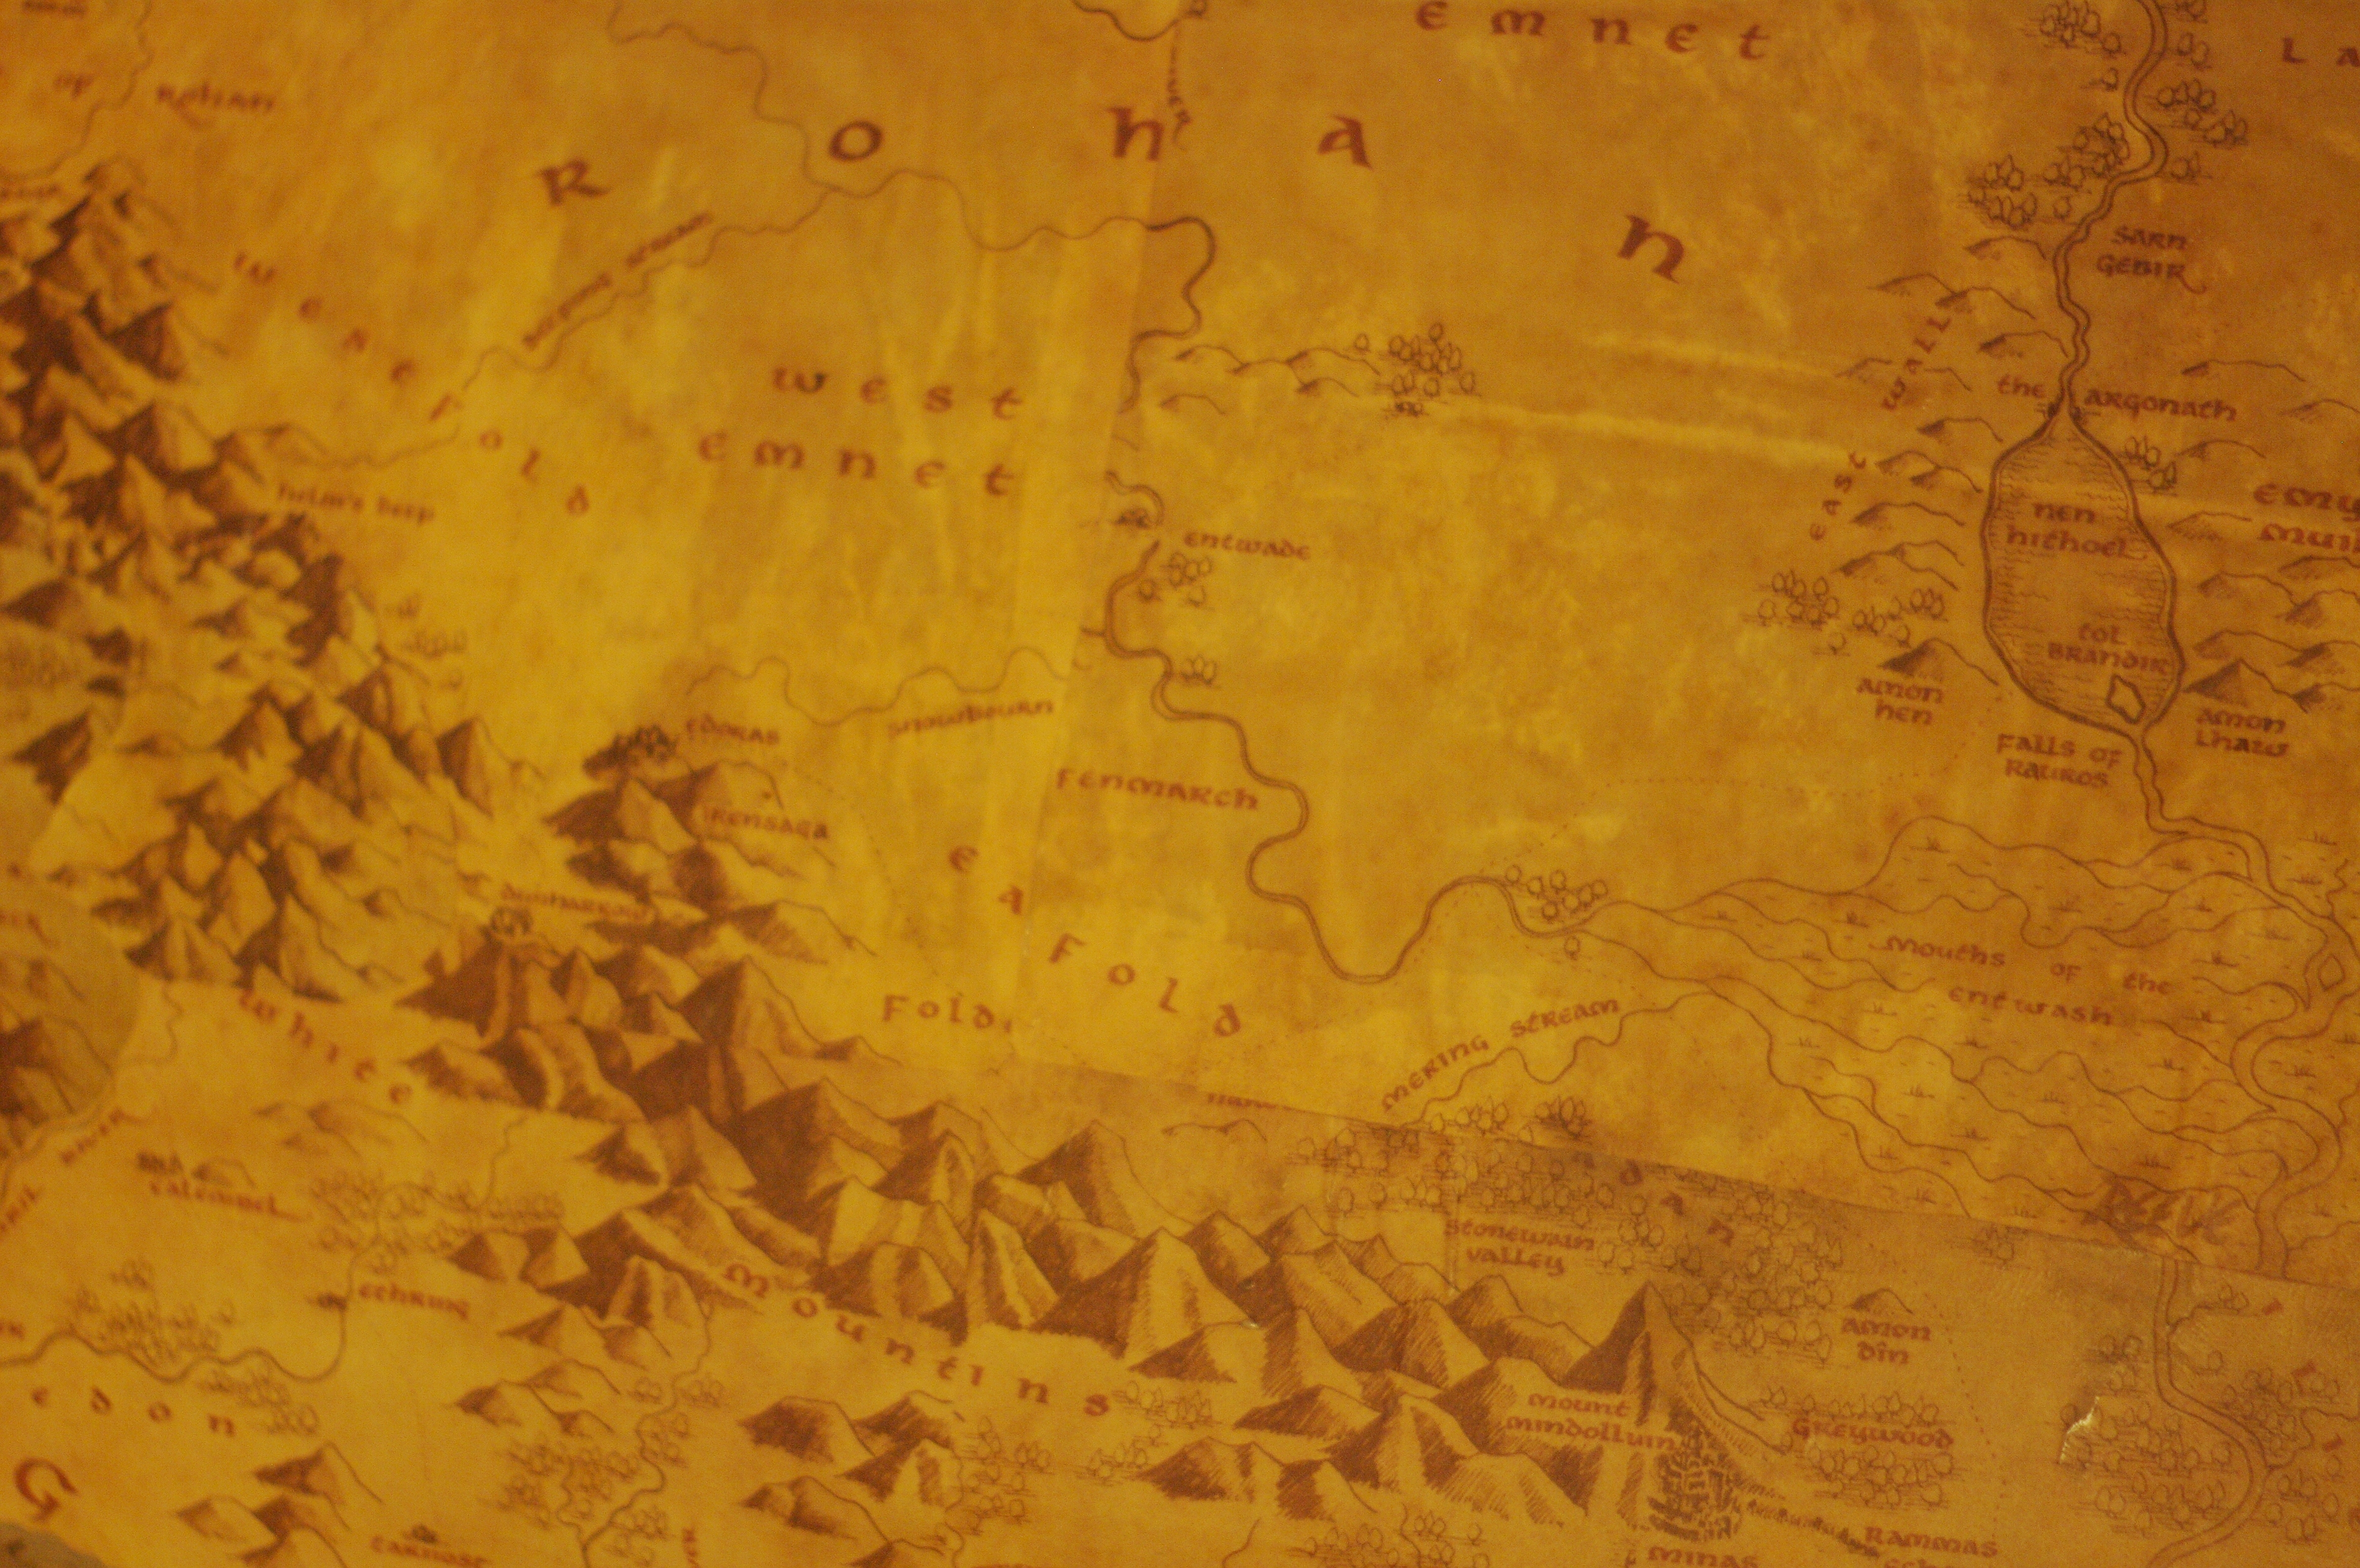
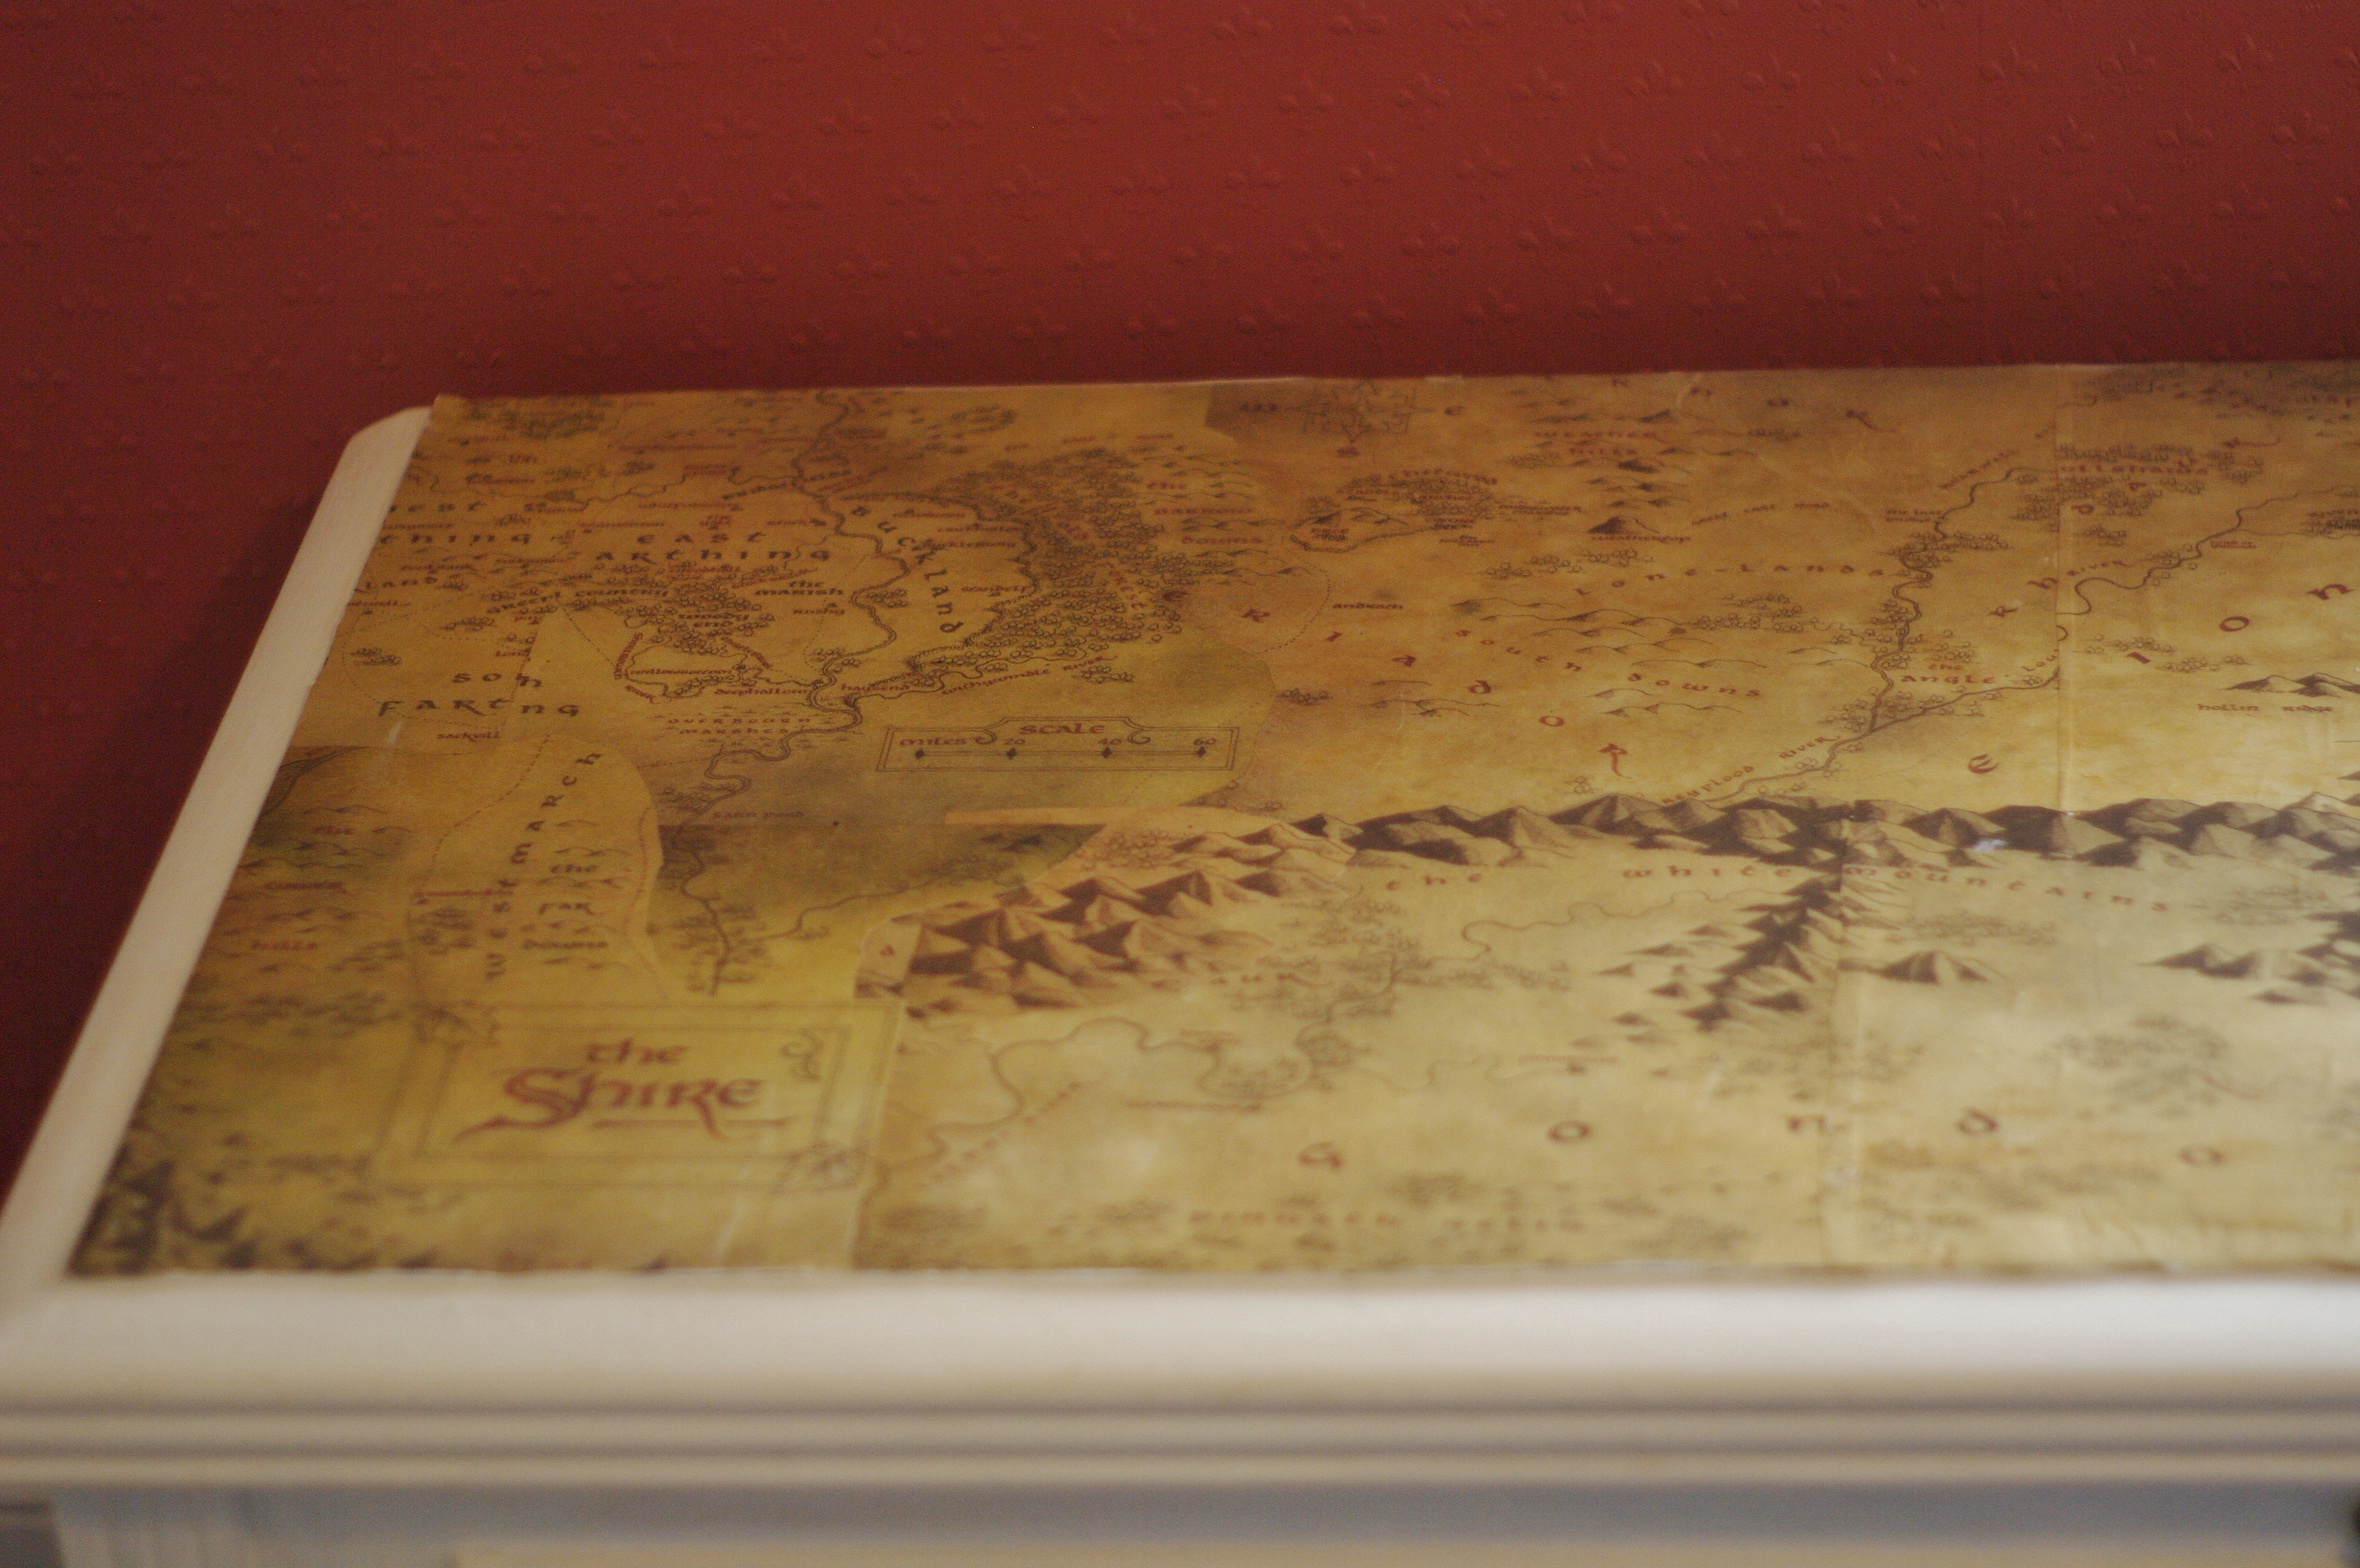
Now’s where the geek comes in. I have the limited edition maps from The Lord of the Rings movies, and they’re lovely. I thought one of those might do the trick nicely, but I wasn’t about to ruin the originals! I brought the stack of them to Staples to see if I could get something done. I had a few ideas about blowing one map up, or piecing together multiple maps, but I didn’t limit my options because I wasn’t sure what was possible. They were nervous about ruining the originals if they had to use a roller machine to scan and make large copies, so I chose to make 11×17″ copies of each half of each map (minus Mordor, because I knew it wouldn’t make it on to the top). |
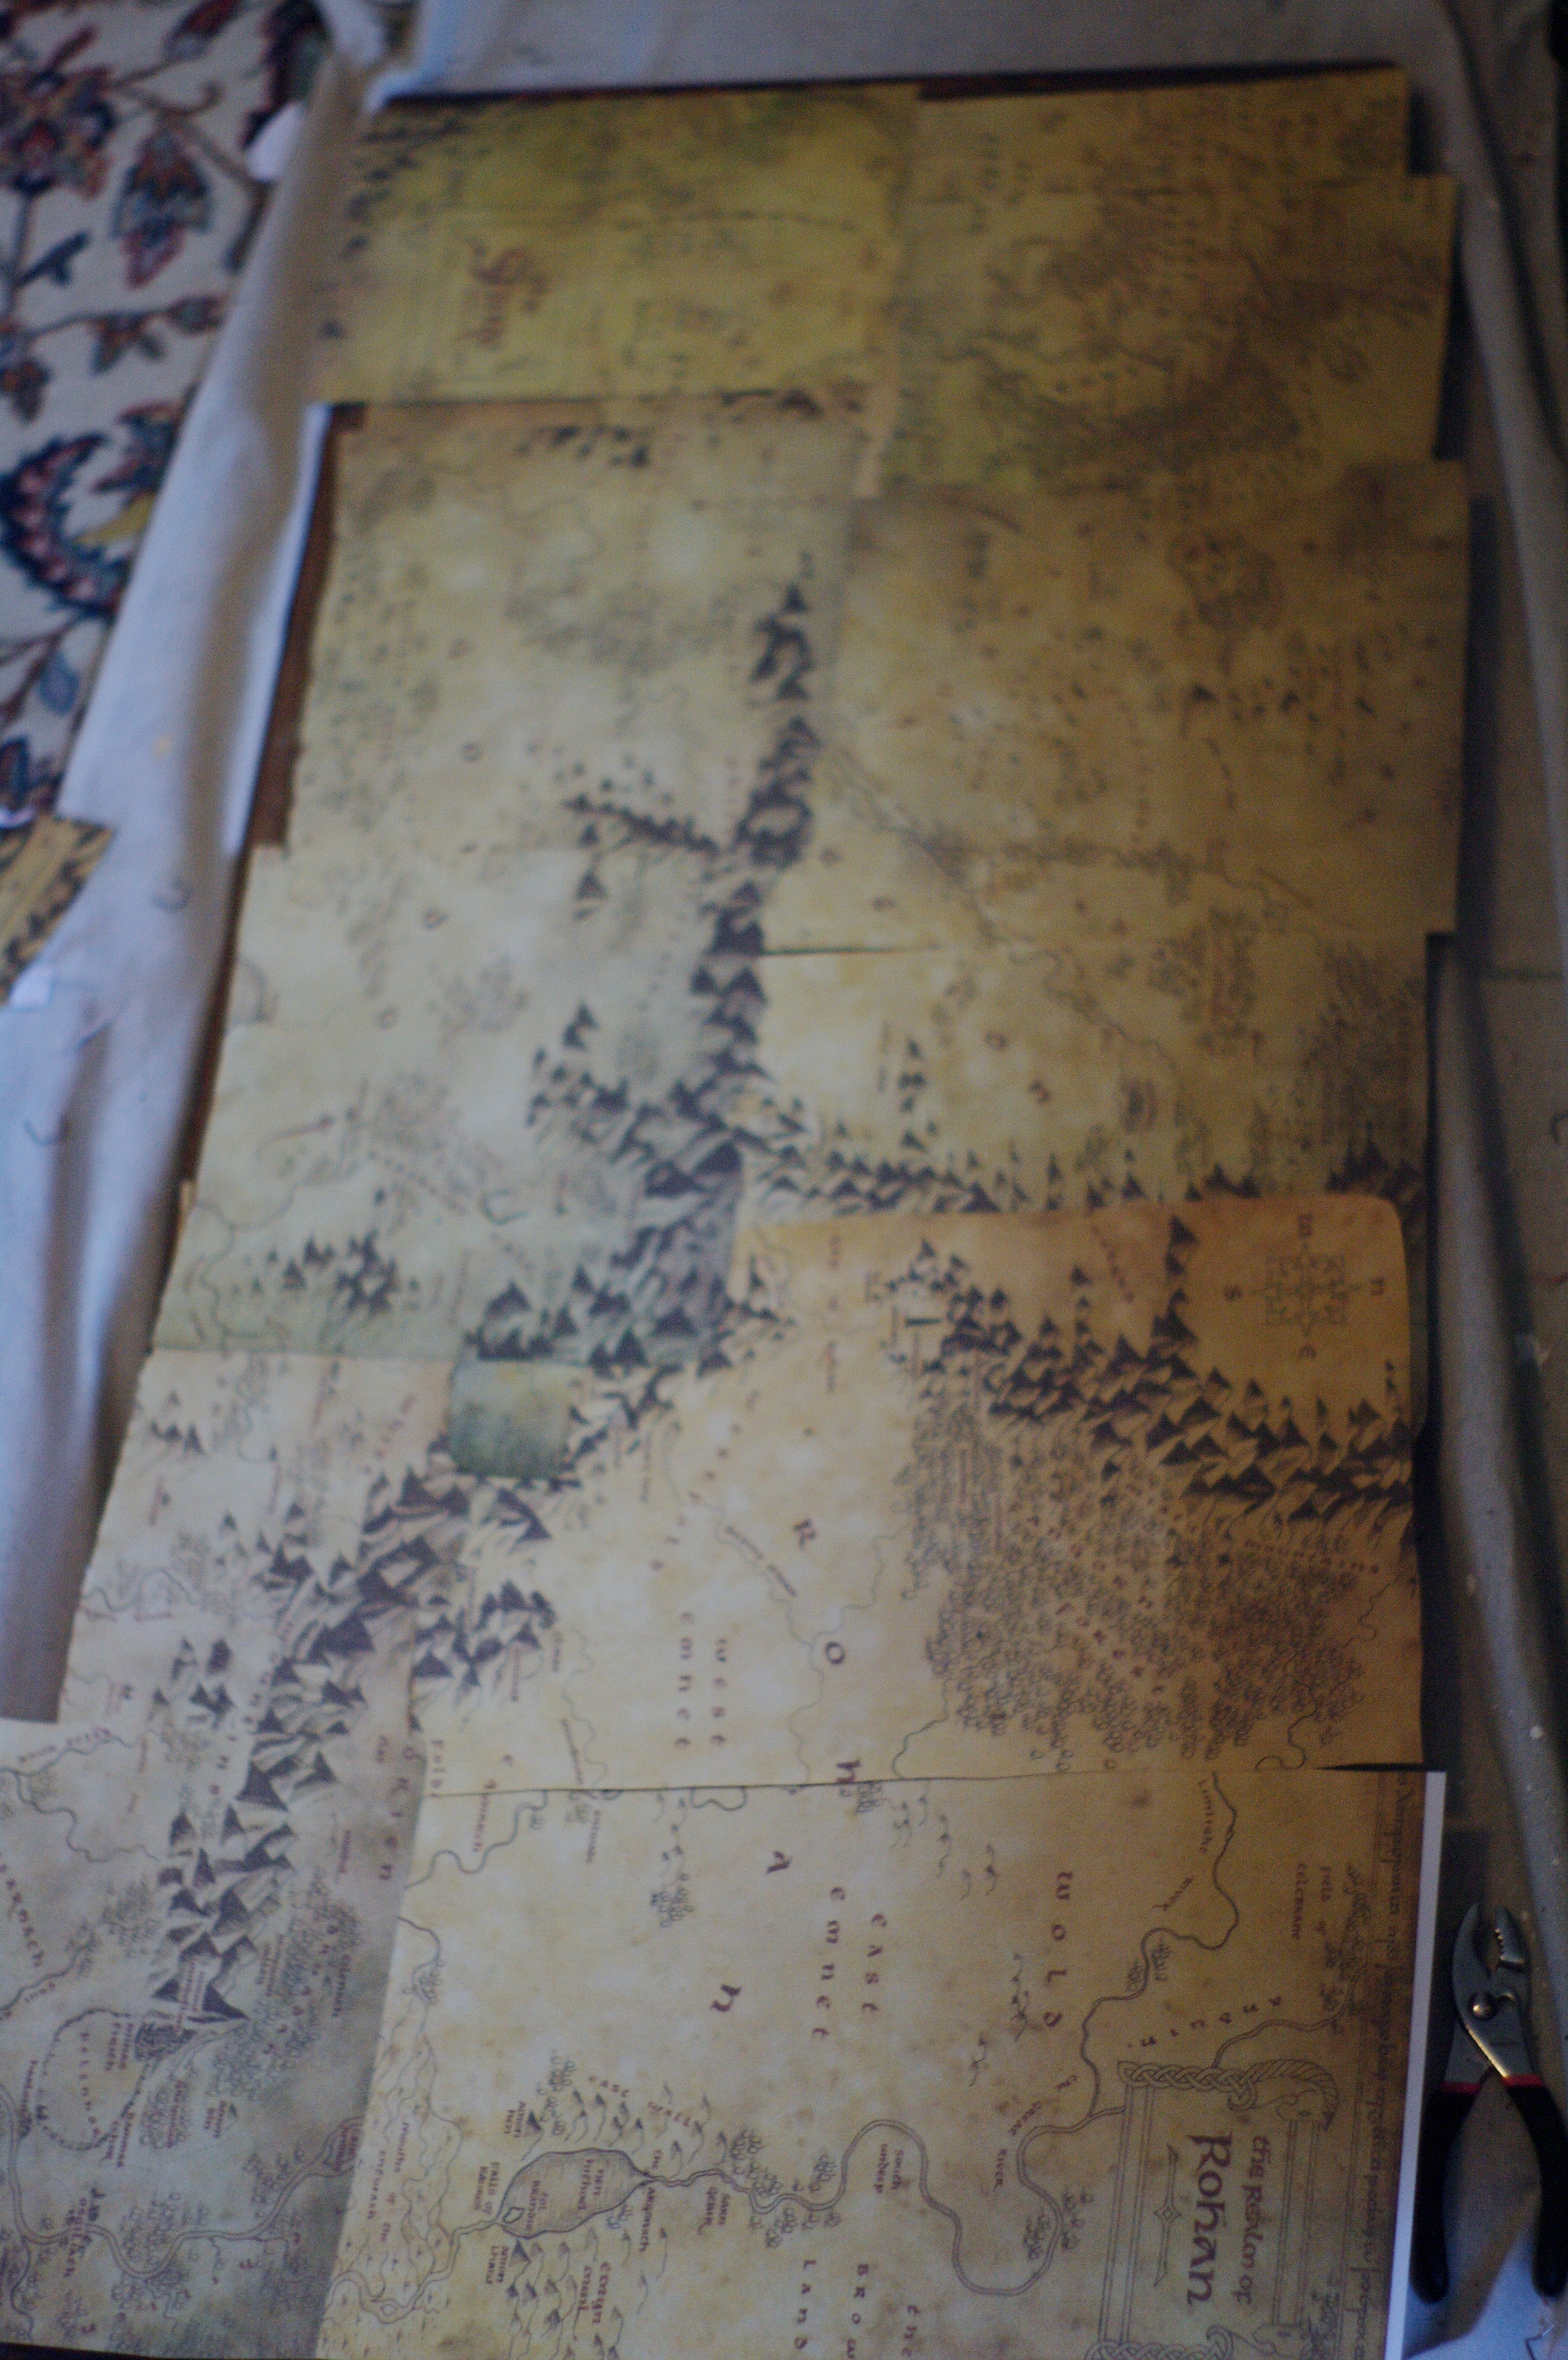 |
I snipped the borders and clipped pieces, and overlaid where I could, but the real map of middle earth the journey from Bag End to Gondor would be sort of diagonal, and I was working with a rather wide and short rectangular surface. I would have to give up my geek need to be correct in order to match the shape, so I chose to overlay similar features, like mountains. I laid everything out in an initial way, but made some mistakes with the gluing as to what piece went on top. Thus was Lothlorian buried somewhere beneath Gondor. |
|
I did however manage to get plenty of what I wanted to fit on the map. Bag End is in the upper left corner, Osgiliath is in the lower right. |
 |
This is the first time I’ve done decoupage since school sometime, so my skills were more than a little rusty, and mistakes were made. I used Mod Podge Furniture Matte, I didn’t want gloss for the map portion and knew I was using chalk paint for the rest of the trunk which would be a flat finish too. There’s more than a bit of bubbling. I should have bought the brayer I saw, used a bit more glue, etc. |
|
I used Anne Sloan chalk paint and wax to finish the rest of the trunk. While the paint doesn’t require primer beneath it, it definitely had some issues with tannin bleeding (brown staining from the raw wood). I chose to “rough up” these areas with sandpaper to reduce the focus on the staining. I like imperfections, so I think the whole effect came out awesome. And because of the maps I chose, it’s an awesomely custom geek-chic piece of furniture. |